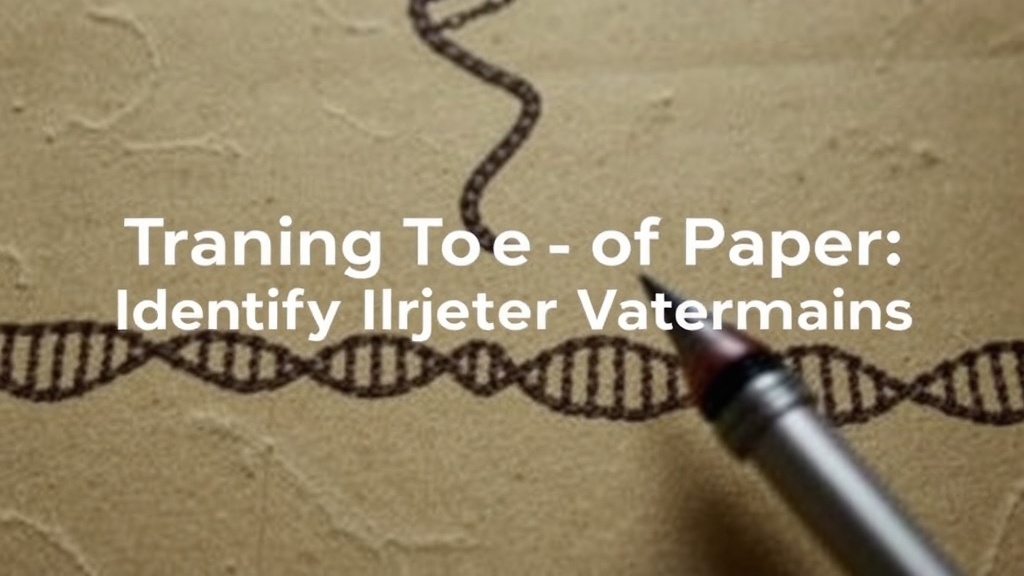
Tracing the DNA of Paper: Identifying Authentic Watermarks

The Ghost in the Grain
A single sheet of paper can hold a secret for centuries, often hidden within its very fiber. In the late 18th century, the production of paper was a highly guarded industrial secret, and a watermark wasn't just a brand—it was a fingerprint of authenticity that could prove a document's origin or expose a forgery. To the untrained eye, a sheet of paper is a flat, white expanse. To a collector, it is a topographical map of history. Identifying a true watermark requires more than just a bright light; it requires an understanding of the mechanical and chemical processes that created the medium itself.
When you examine a rare volume, you aren't just looking at ink on a page. You are looking at the physical evidence of the paper mill's existence. A watermark is a thin, translucent area in the paper, created by a wire shape attached to the mold during the manufacturing process. This shape displaces the pulp, creating a permanent shadow in the fiber structure. Whether it's a heraldic crest, a crown, or a simple geometric shape, these marks act as the DNA of a book's production. Without a thorough way to identify them, a collector risks buying a high-quality facsimile instead of a genuine artifact.
How do I see a watermark without damaging the page?
The biggest mistake a novice makes is using harsh, direct light that can heat the fibers or introduce unnecessary UV exposure. To find a watermark, you need a controlled environment. The most effective method remains the transmission of light through the sheet. Hold the page between two light sources—or, more safely, hold it up against a window with indirect, natural light. You're looking for a change in opacity, not a change in color.
If the paper is particularly thick or the watermark is subtle, a professional light box or a high-quality light table is your best tool. You want a diffuse, even light that penetrates the pulp without creating a glare on the surface. If you're working with a high-value item, never use a flashlight with a high heat output. The heat can cause microscopic expansion in the fibers, which—while seemingly minor—is a risk we don't take. For more on the technical standards of paper, the Library of Congress provides extensive digital collections that demonstrate these nuances in high-resolution scans.
- Use Backlighting: Always use light from behind the page, never from the front.
- Check for Shadows: A watermark is a density difference, not a printed image.
- Avoid Heat: Never use incandescent bulbs that generate heat near the paper.
What are the different types of watermarks in old books?
Not all watermarks are created equal. In the world of bibliographic forensic work, we generally categorize them into three distinct types. First, there are wire marks, which are the more visible, structural lines left by the mold itself. These aren't the "true" watermarks, but they are vital indicators of the paper's age and manufacturing method. Second, we have the true watermark—the decorative or symbolic image embedded in the pulp. This is the one that identifies the mill or the specific era of production.
The third category is the laid line or chain line. While not a decorative watermark, these are the structural ribs visible when you hold paper up to the light. They are the physical evidence of the wire sieve used to hold the pulp. If you see a book from 1650 that lacks these structural lines, you are likely looking at a modern, machine-made paper that is masquerading as an antique. This is a red flag that demands immediate investigation. You can see examples of these structural variations through the British Library digital archives, which offer deep dives into historical printing techniques.
A Comparison of Watermark Visibility
| Paper Age | Watermark Style | Common Method of Identification |
|---|---|---|
| 15th-16th Century | Simple Symbols/Heraldry | Strong backlight/Transmitted light |
| 17th-18th Century | Complex Crests/Names | Diffuse natural light/Light box |
| 19th Century | Minimal/Brand Logos | High-intensity, low-heat LED |
Can a fake watermark be detected by a collector?
Detecting a counterfeit watermark is the ultimate test of a collector's skill. A high-quality forgery often tries to mimic the look of a watermark by printing a faint, light-gray image on the surface of the paper. This is a "printed" watermark, not a true one. To tell the difference, you must look at the edges of the mark. A real watermark is a change in the density of the fiber itself; it is part of the paper's soul. If you look at the mark from an angle, a printed fake will often look flat, while a true watermark will have a slight, three-dimensional depth due to the varying thickness of the paper.
Another way to spot a fake is to look for the "shadow" of the watermark on the reverse side. In a genuine-watermarked sheet, the mark is visible through the entire thickness of the paper. If the mark only appears on one side, it was likely printed on the surface. This is where the forensic approach is vital. You aren't just looking for the presence of a mark; you are looking for the structural integrity of that mark within the paper's own architecture. A sophisticated forger can mimic the shape, but they struggle to mimic the way light travels through the varying density of the pulp.
Always remember that a watermark is a physical-chemical reality. It is a disruption in the liquid pulp that has since dried and hardened. If the mark feels "on" the paper rather than "in" the paper, treat it as a warning sign. Your goal is to verify the physical evidence, not just the visual appearance. This level of scrutiny is what separates a buyer from a true collector of paper and print history.